Fargo ND Pole Barn Siding Installation | Steel & Wood Cladding, New Builds and Re-Sides
Steel and wood siding installation on new and existing post-frame buildings, with the trim details that decide whether a wall lasts. Straight lines, the right trim profile at every junction, and a base detail that keeps the cut edge out of the snow. Fargo ND Pole Barn Builders covers both sides of the Red River, in Cass and Clay counties.
Get a quote on your building
Tell us the size, the use and where the site is. We will come back with a scope and a price, not a brochure.
Fargo ND Pole Barn Siding Installation
Straight lines, correct trims, water going the right way
Siding looks like the simplest part of a post-frame building and it is the part people judge it by. A wall with panel ribs running out of parallel, or trims that do not line up at the corners, will bother you every time you look at it, and no amount of good structure behind it compensates.
The technical half of the job is water. Every horizontal joint, every corner, every opening and the bottom edge are places where water can either shed away or get in and sit. Trims exist to control that, and they have shapes for a reason.
- First panel plumbed and checked
Every panel after it follows the first. Starting out of plumb means a taper at the far end of the wall.
- Correct trim profiles at every junction
Corner, base, eave, gable, opening and transition trims, each doing its own job.
- Base detail kept clear of the ground
A panel edge sitting in soil or snow wicks water and corrodes from the cut edge upward.
- Fasteners in the flat, consistently seated
Screwed in the panel flat with washers compressed evenly, in straight lines you will be looking at for decades.
How we build it, and how it usually gets built
How it usually gets built
Start at one corner, run panels until you reach the other end, and cut the last one to fit whatever gap is left.
How we build it
Set out the wall, plumb the first panel, and adjust the layout so the cut panel is not a slither at a visible corner.
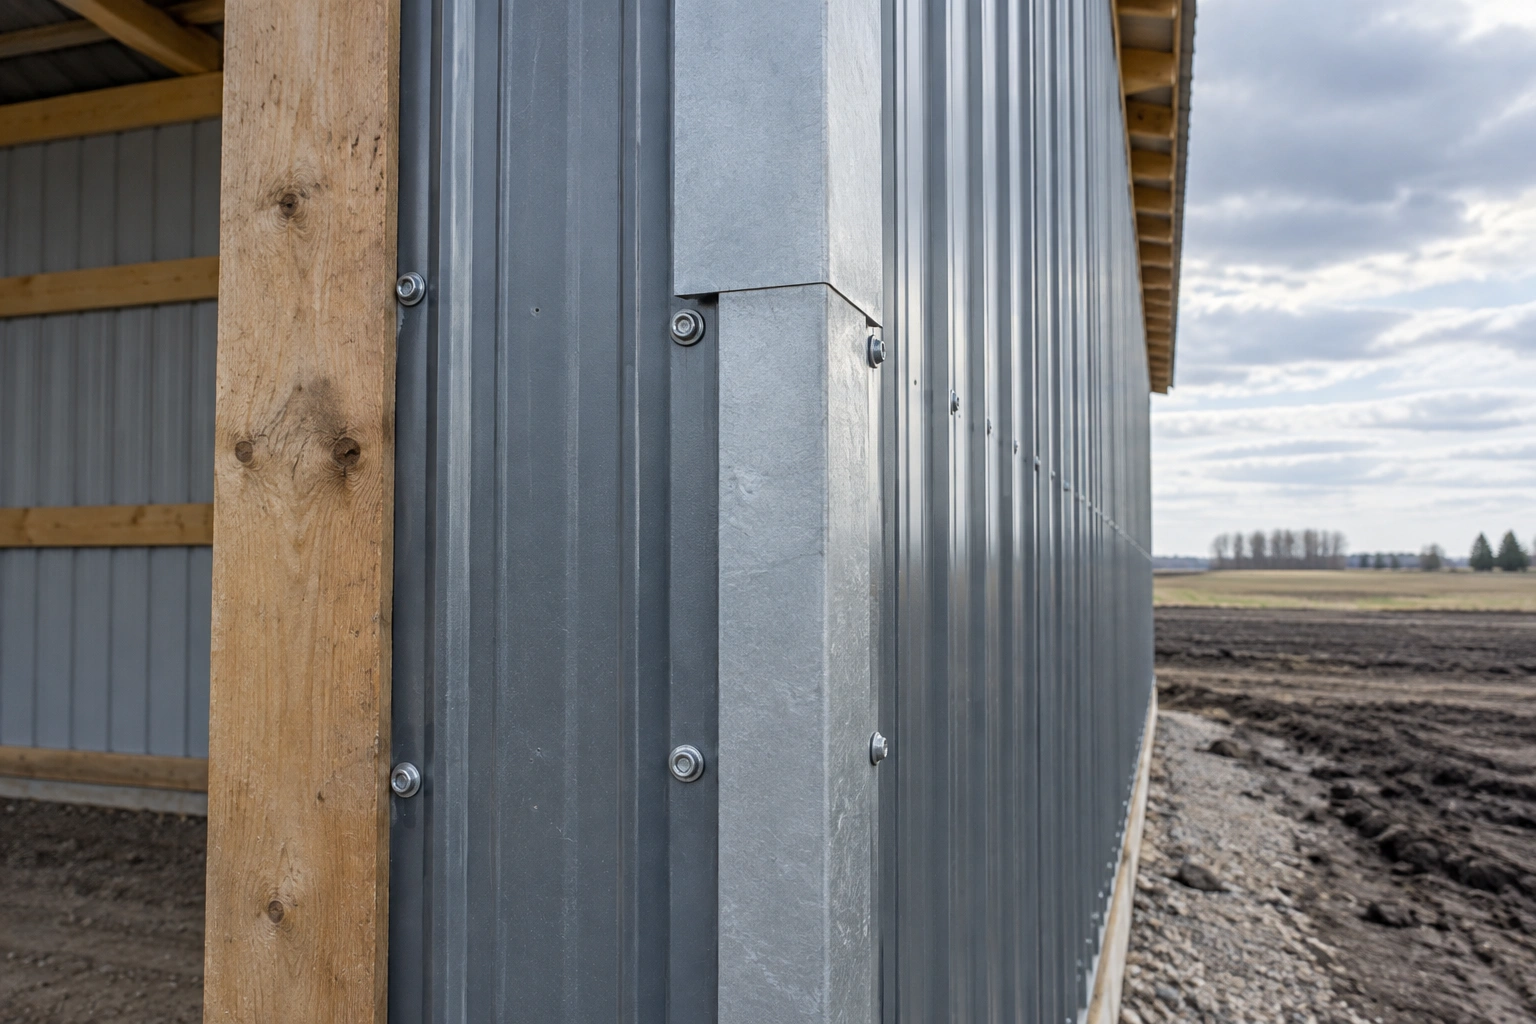
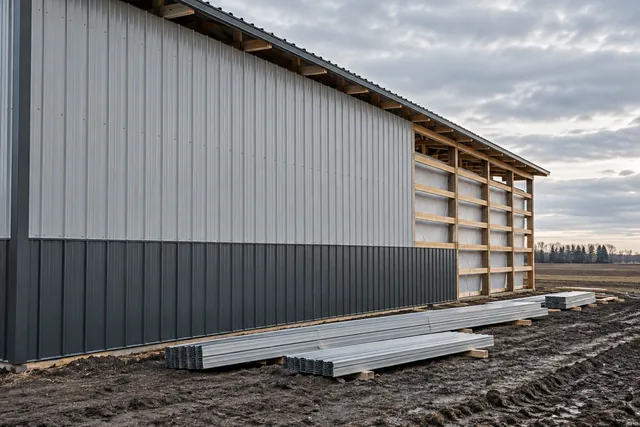
A wainscot is the most useful detail on a post-frame wall and it is not just decorative. Using a darker, often heavier panel for the bottom three or four feet gives you a band that takes the splash, the snow, the strimmer and the loader bucket, and it hides the marks that a light-coloured panel would show immediately.
On livestock buildings we replace that band entirely with concrete or heavy timber. On everything else, a steel wainscot with a proper transition trim above it is cheap and it pays back visually within a year.
Four details that decide how a wall ages
None of them show up on a quote line.
- The base detail
A panel cut edge sitting against soil, gravel or a snow drift will corrode from that edge. Keeping the panel clear of grade with a proper base trim and a drainage fall away from the wall is the single most important siding detail.
- Panel layout and the cut panel
Where the last panel lands is a choice. Planned properly it is a full-width panel at a corner. Unplanned it is a two-inch strip at the most visible point of the building.
- Trim laps and direction
Water runs down. Trims have to lap so the upper piece sheds over the lower one, and it is very easy to get one junction the wrong way round and create a funnel.
- Movement at long runs
Steel panel moves with temperature. On a long wall that movement has to be accommodated by the fastener detail rather than resisted, or the holes elongate and the panel oil-cans.
What goes wrong, and what we do instead
| What goes wrong | What it causes | What we do instead |
|---|---|---|
| Panel taken down to or below grade | The cut edge wicks moisture and corrodes upward, which shows as a rust line along the whole wall. | Panel held clear of grade on a proper base trim, with the ground graded to fall away from the wall. |
| Fasteners driven into the rib instead of the flat | The fastener cannot seat properly, the rib distorts and the washer never seals. | Fixings in the panel flat, on the girt line, at the specified spacing. |
| Trim lapped upward at a transition | Water is funnelled behind the cladding at exactly the point where it is hardest to see. | Every trim lapped so the upper element sheds over the lower one, checked at each junction. |
Installation sequence
- Step 01Set out and check
Girt line confirmed, panel layout planned so the cut panel lands where it will not be noticed.
- Step 02Wainscot and base
Base trim and lower band installed first, set level and plumb as the reference for everything above.
- Step 03Main panel run
Panels hung, lapped and fixed in the flat at the specified spacing, with alignment checked repeatedly.
- Step 04Trims and openings
Corner, transition, eave, gable and opening trims fitted with correct laps, then a full walk round.
Siding specification
Materials and details on a typical wall.
29-gauge ribbed
Matching or contrasting the roof, with the same 40-year paint system, fixed in the panel flat.
Contrasting lower band
Typically three to four feet, in a darker colour and sometimes a heavier gauge, with a transition trim above.
Full profile set
Base, corner, opening, transition, gable and eave trims, colour matched and lapped to shed water.
Board and batten or LP
Where the look matters more than the maintenance interval, with a ventilated cavity behind where the detail requires it.
Re-siding is a good time to insulate
If you are stripping the walls of an existing building, the cavity is open and accessible in a way it will not be again. Adding insulation, or upgrading what is there, costs a fraction of what it would cost as a separate job later. The same applies to running conduit, adding girts for future fixings, or correcting a base detail that has been wicking water for twenty years.
Before cladding starts
Four things worth confirming, especially on re-siding.
- Girt condition and alignment
On a re-side, the girts have been hidden for years. Any that are rotted, bowed or missing get dealt with before new panel goes on.
- Colour and profile decided
Including the wainscot and trims. Panel is ordered to length and colour, so changes after ordering are expensive.
- Ground level around the building checked
If soil has built up against the wall over the years, that gets corrected before the new base detail goes on.
- Openings finalised
Any new doors or windows are framed before cladding, not cut in afterwards.
What siding costs depend on
Steel is by a distance the lowest-maintenance option and the cheapest over the life of the building. Wood siding costs more initially, needs refinishing on a cycle, and looks considerably better doing it. That is a genuine trade-off rather than a sales pitch, and the right answer depends on how the building is used and how visible it is.
What drives labour is not the wall area so much as the number of openings and corners, because every one of them is a set of trims, cuts and details rather than a straight run of panel.
Common questions
How long does steel siding last?
The panel will last decades. The paint system determines how it looks along the way, and a 40-year silicone-modified polyester finish holds colour far better than a cheaper coating. The parts that need attention first are usually fastener washers and the base trim.
Can I re-side an existing pole barn?
Yes, and it is common on buildings from the seventies and eighties. We strip the old panel, inspect and repair the girts, correct the base detail and ground levels, and hang new cladding. It is also the ideal moment to add insulation.
What is a wainscot and do I need one?
It is a contrasting band of panel, usually three or four feet, along the bottom of the wall. It takes splash, snow, machinery contact and strimmer damage, and it hides marks that would show on a light panel. It is not structural, but it is one of the better-value details available.
Steel or wood siding?
Steel is cheaper over the life of the building and needs almost nothing doing to it. Wood looks better and needs refinishing periodically. On a working farm building we would nearly always suggest steel. On a barndominium or a building near the house, wood is often worth the maintenance.
Can you match my existing siding colour?
Usually we can get very close, but an exact match to weathered panel is rarely possible because the existing colour has faded. On a partial re-side we will tell you honestly how visible the difference is likely to be.
Do you charge for a siding quote?
No. On re-siding work we will look at the condition of the girts and the base detail while we are there, because both affect the price and neither can be assessed from the ground.
Do I have to be home during the work?
No. We do need clear access around the perimeter of the building, which means moving anything stored against the walls before we start.
Can I change the colour of an existing steel building?
Panels can be painted, with the right preparation and the right coating, and the result rarely lasts as well as factory-finished steel. Where the existing panel is otherwise sound and the only complaint is the colour, it is worth pricing both options: a full re-side with a 40-year paint system sometimes costs less over twenty years than painting twice.
Does re-siding need a permit?
Frequently not by itself, and frequently yes once you get into it. Stripping cladding tends to reveal girts that need replacing, and replacing structural members is alteration rather than maintenance. If we find that during a re-side, we stop and establish the permit position rather than quietly carrying on, because that is the version that causes trouble later.
Other things we build
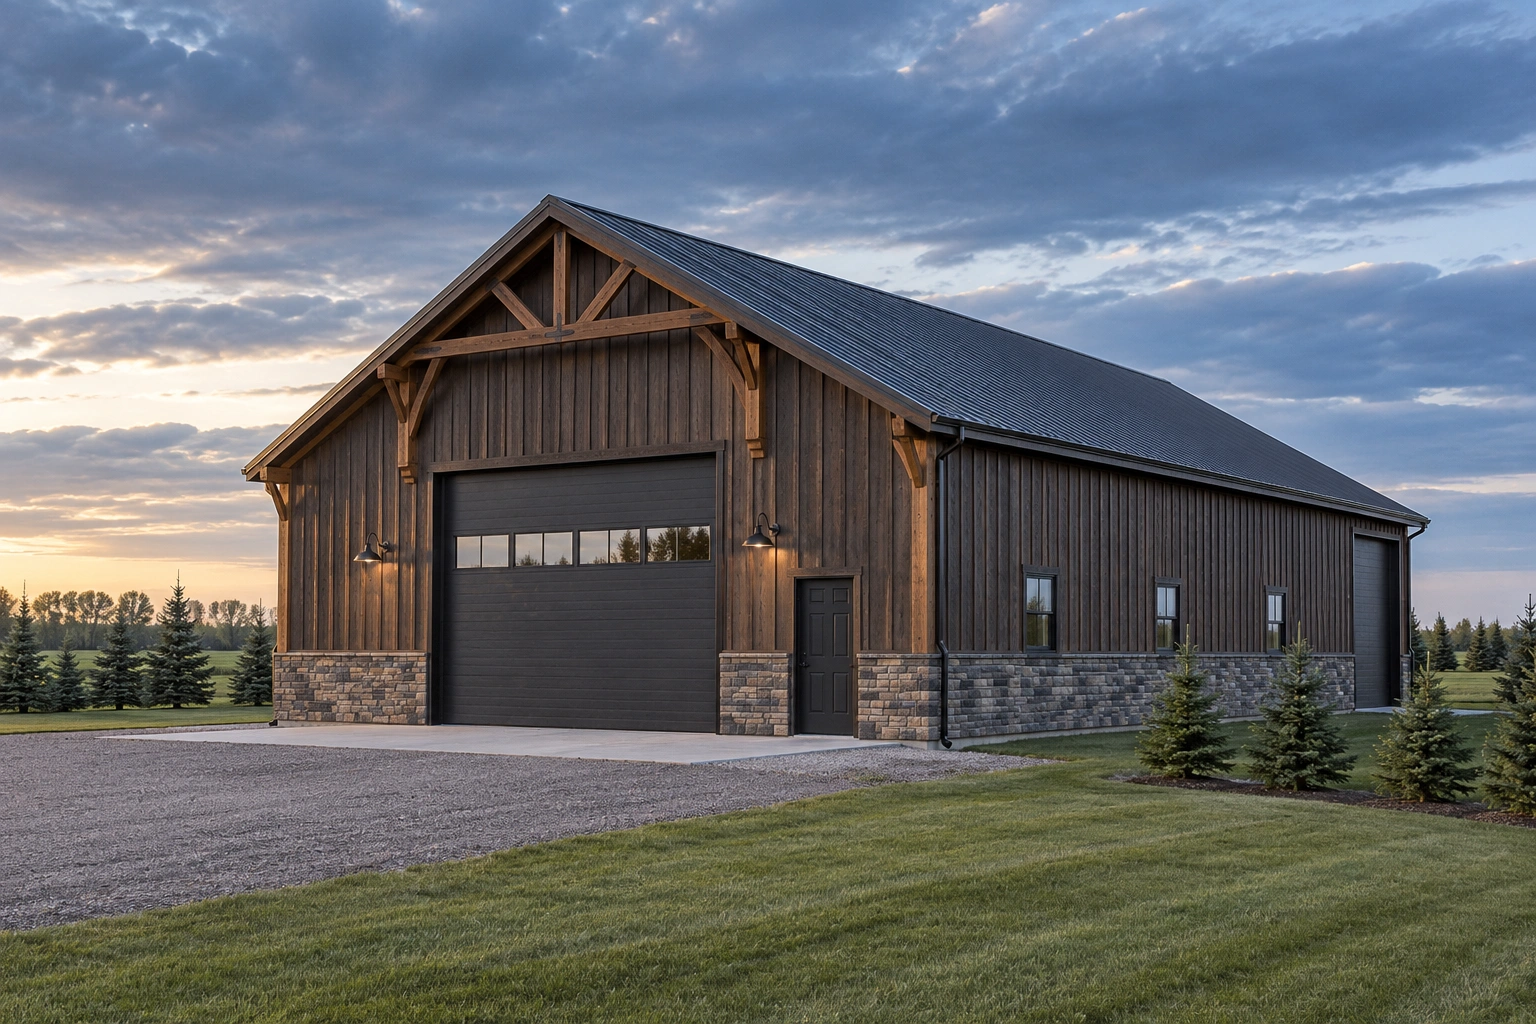 Wood-Sided Pole BarnsBoard and batten, shiplap and engineered wood, detailed to survive a valley winter.
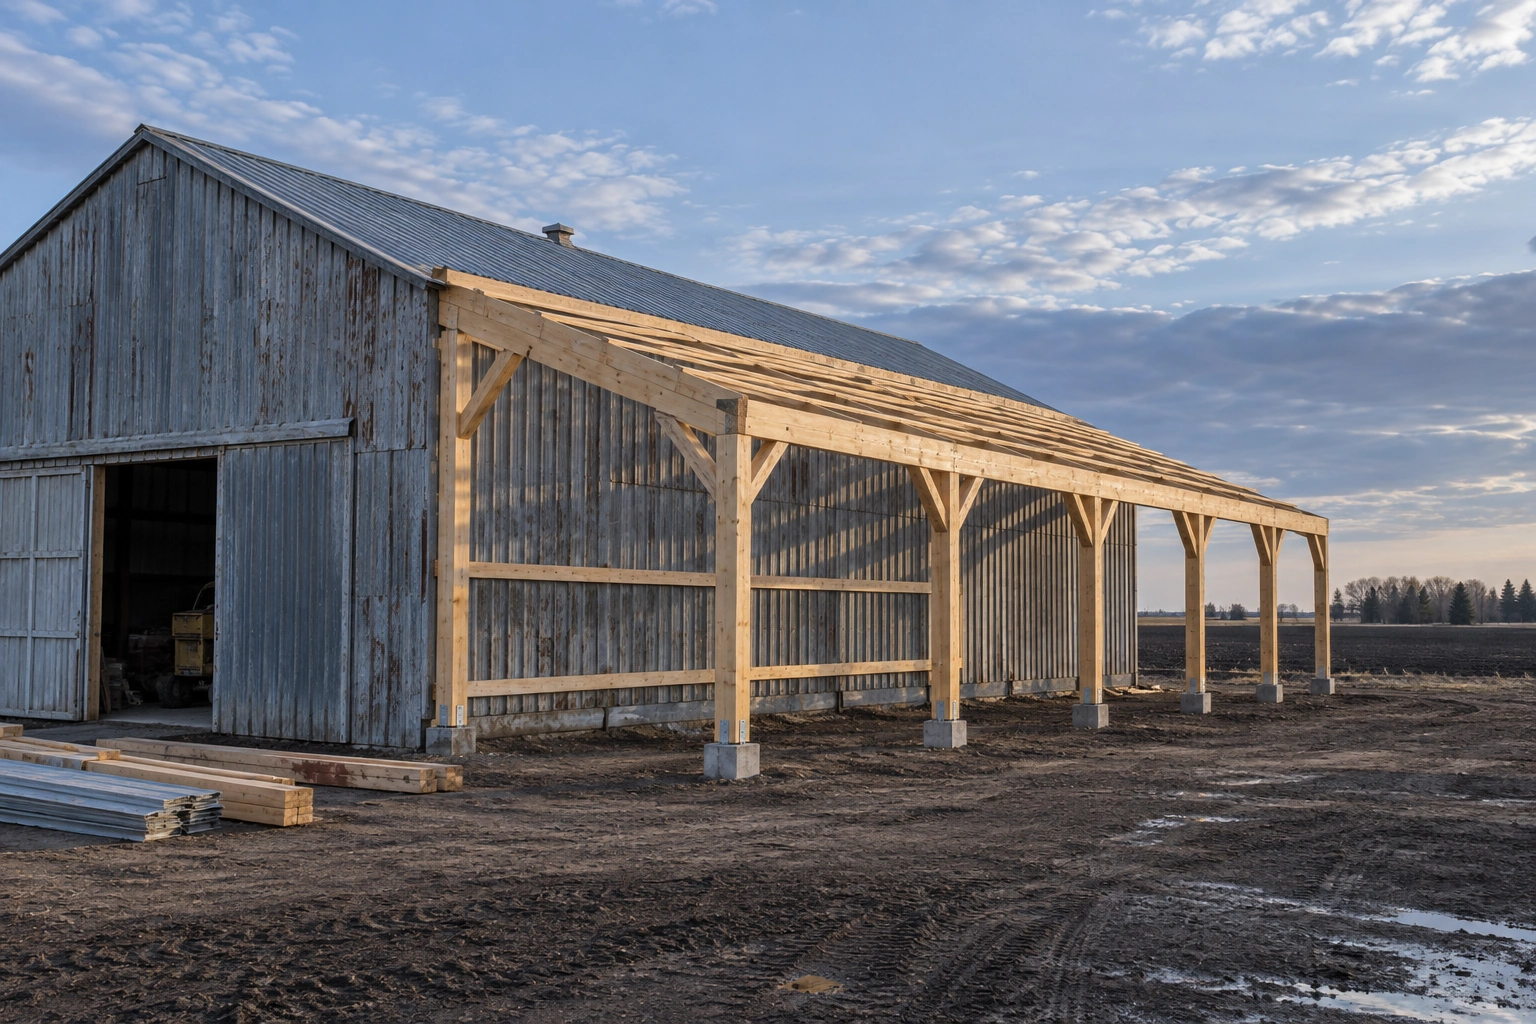 Pole Barn Renovation & AdditionsLean-tos, extensions and conversions on buildings that were never designed for them.
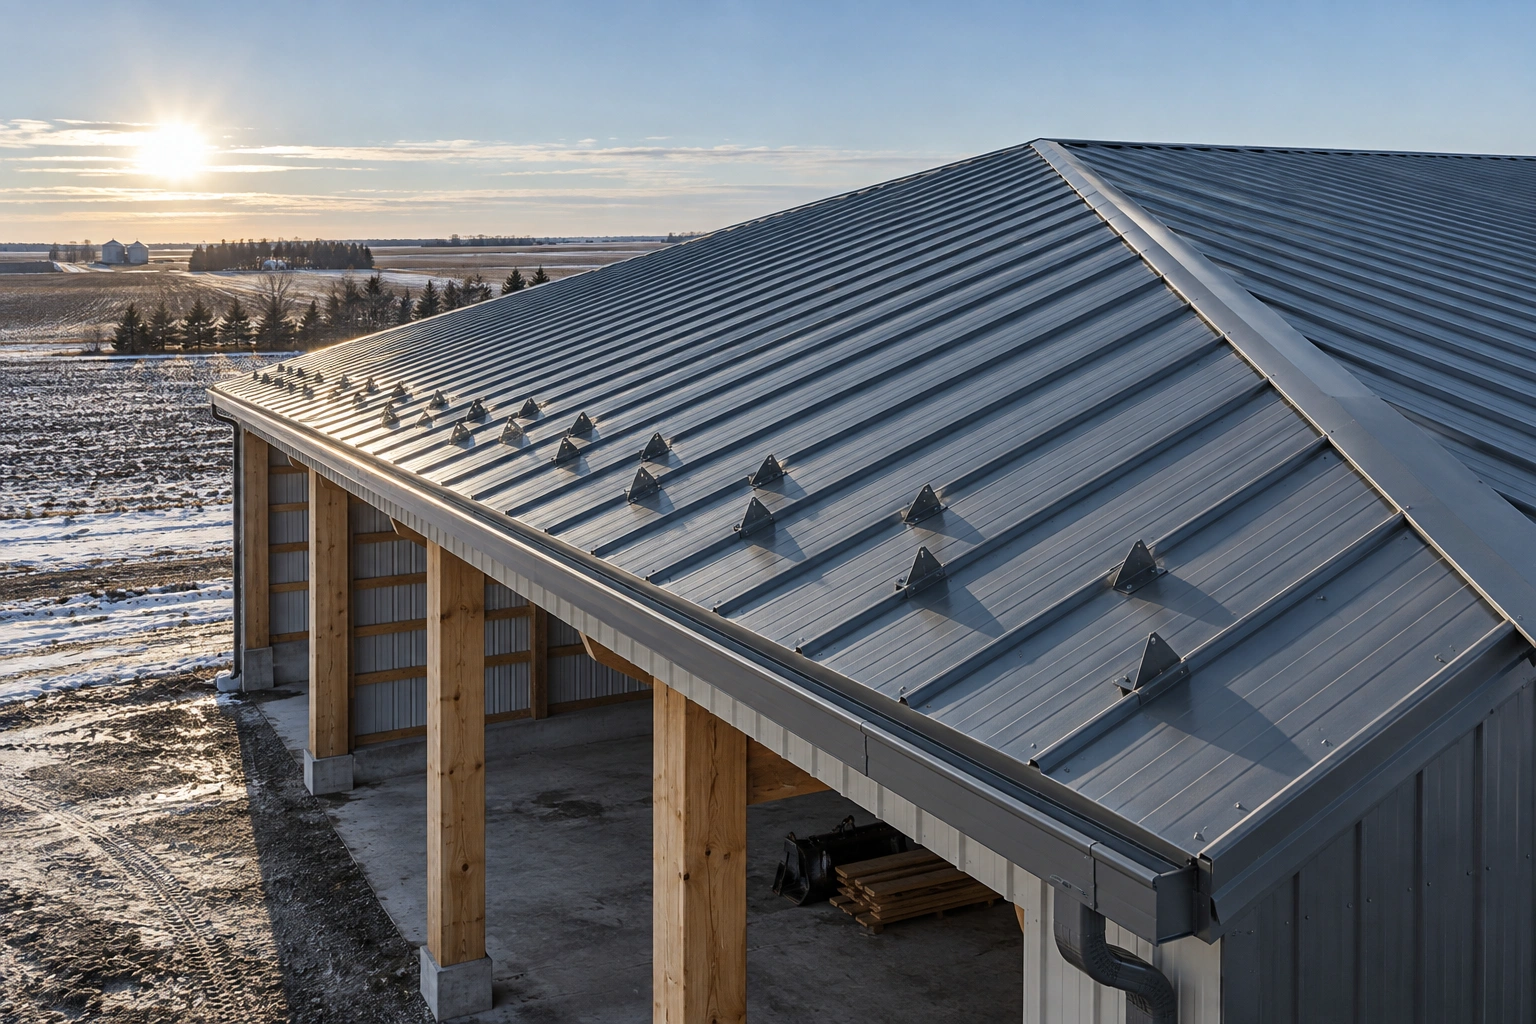 Metal Roof Pole BarnsSteel roofs specified for snow shedding, condensation and forty years of ultraviolet.
New siding or a full re-side
Tell us the building size and its age. For re-siding work we will come and look at the girts and the base detail before quoting.